
If your Logitech G604 has started firing two clicks from a single press — dragging files you never meant to grab, or opening things twice — the mouse isn’t dying. One tiny switch inside it is. Here’s how to confirm it, and how I fixed mine on the bench for the price of a coffee.
First, confirm it’s actually the switch
Before you open anything, rule out software. The quickest hardware test is to click slowly and deliberately and watch for a single press that registers twice. A healthy switch physically can’t bounce fast enough to do that — a worn one can, and it gets worse over time.
Not sure if it’s chatter? I built a free tool that catches it in seconds — it flags any two clicks landing too close together to be human.
Why it happens
The G604 uses OMRON micro-switches, and there are two grades in circulation: the cheaper China-made OMRONs and the longer-lived Japan-made ones. Mine shipped with the Chinese version, and after a year or so the contacts wear and start bouncing — the exact “double-click” everyone ends up complaining about. The whole job, start to finish, is in the video:
What you’ll need
- Japanese OMRON D2F-01F switches (×2) — the replacements. Not the D2FC-F-7N; that’s the cheap grade you’re getting rid of.
- Precision screwdriver set (e.g. an iFixit kit) — you’ll want Torx and Phillips bits
- A temperature-controlled soldering iron — nothing fancy
- Flux-core solder — makes both desoldering and soldering far easier
- Solder wick, and a solder pump if you have one — for clearing the pads
- A silicone mat — protects the desk and stops screws rolling off into another dimension
Opening the G604
Flip the mouse over, pull the battery cover and battery, then peel back the glide pads — they’re adhesive and go back on later. The screws hide underneath them. There are a fair few, so keep them organised; the video speeds this part up because it’s just repetitive screw removal.
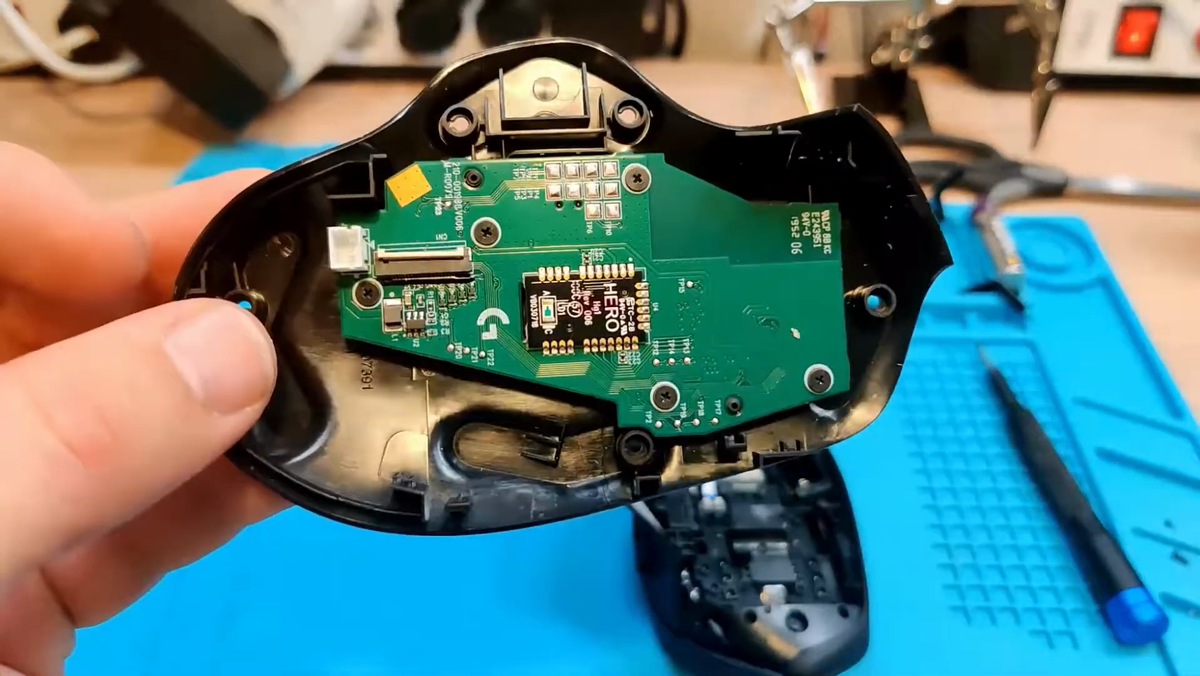
With the screws out, work your way around the edges and separate the top shell from the base. Go gently — it clips in at a few points and the plastic tabs don’t love being rushed. Underneath you’ll see the main PCB and the two OMRON switches sitting right under the left and right buttons. Those are the ones we’re swapping.
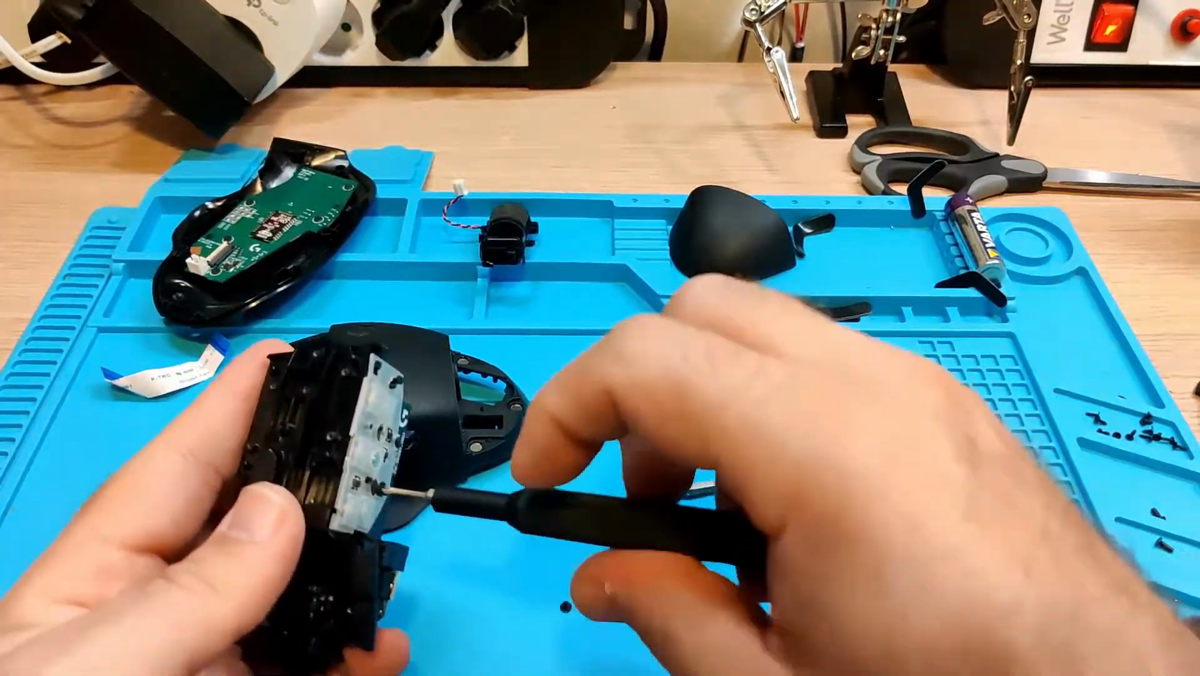
Watch the springs. There are two tiny springs inside that will happily ping across the room and vanish forever. Note where they sit before you lift anything out — lose one and the button tension goes with it.
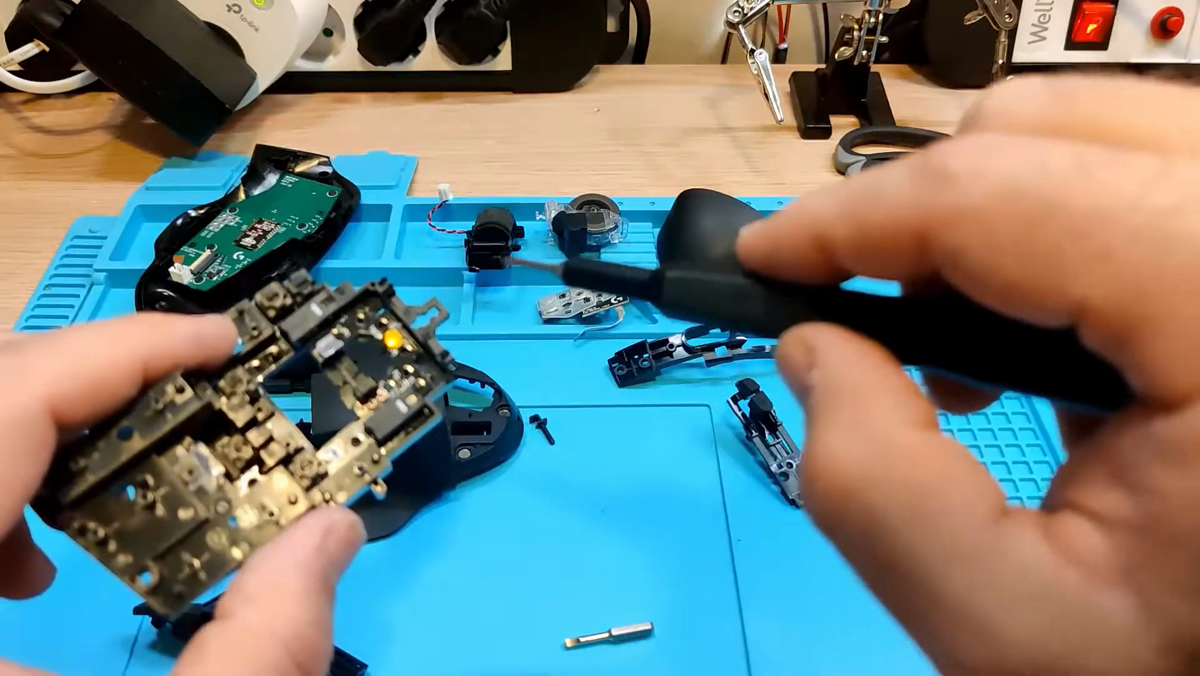
Desoldering the old switches
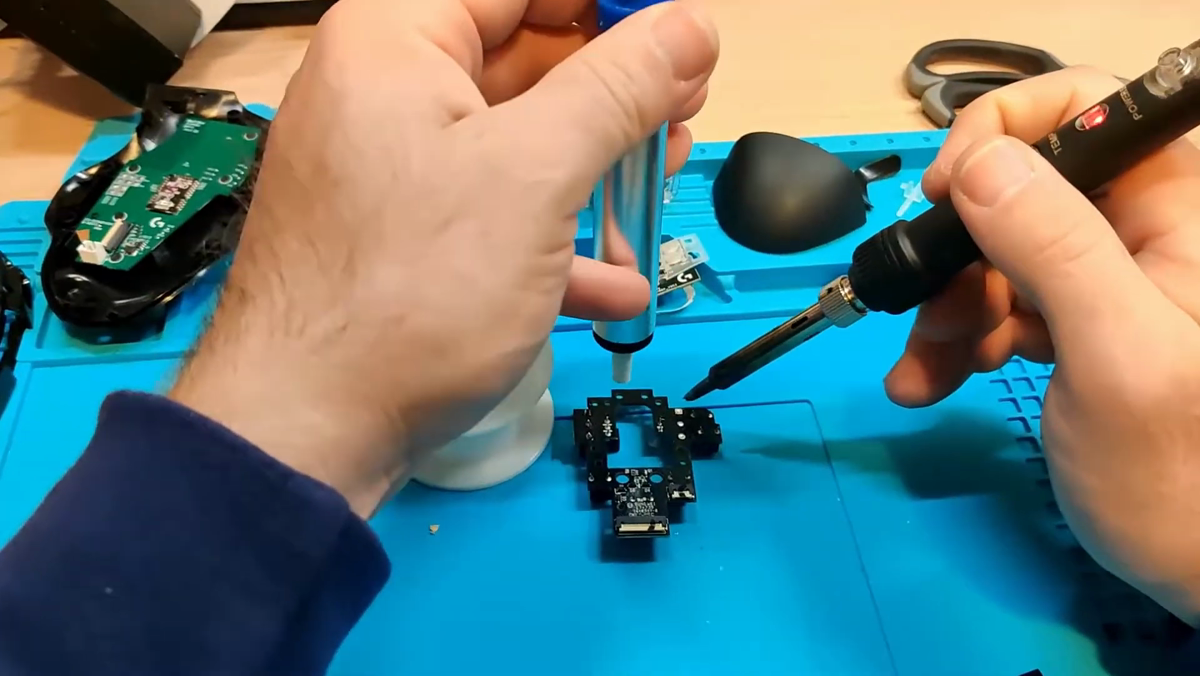
Flip the PCB to reach the joints. Each switch has three legs. Counter-intuitively, start by adding a little fresh flux-core solder to the existing joints — the extra flux helps the old solder flow and makes removal easier. Then heat all three legs while pushing gently on the switch from the other side. It takes patience and usually a few goes; work the iron across the joints rather than parking it on one spot.
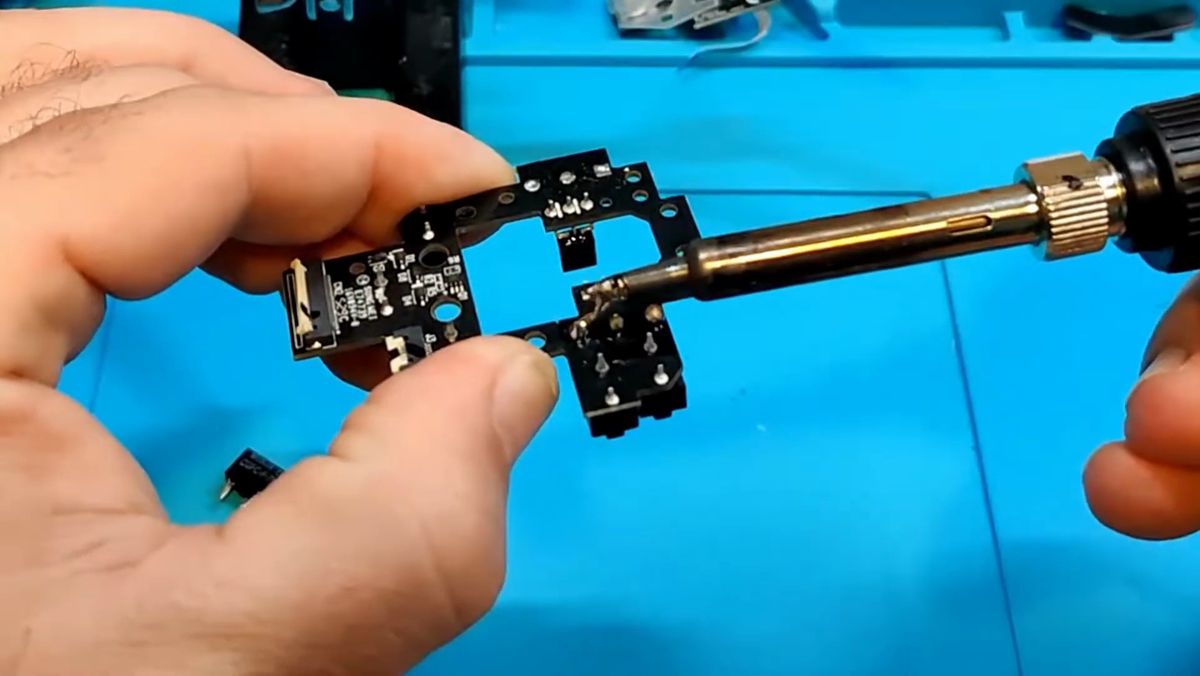
Don’t cook the board. Long, continuous heat can damage nearby components. Work in short bursts and let the PCB cool between attempts.
The replacement: Japanese OMRON D2F-01F
The OMRON D2F-01F is a Japanese-made micro-switch and a direct drop-in for the G604’s stock switches — same three-pin footprint, same dimensions, no modifications. The difference is the contact material: a gold-alloy crosspoint that resists the oxidation and wear that makes the cheaper Chinese switches start double-clicking in the first place.
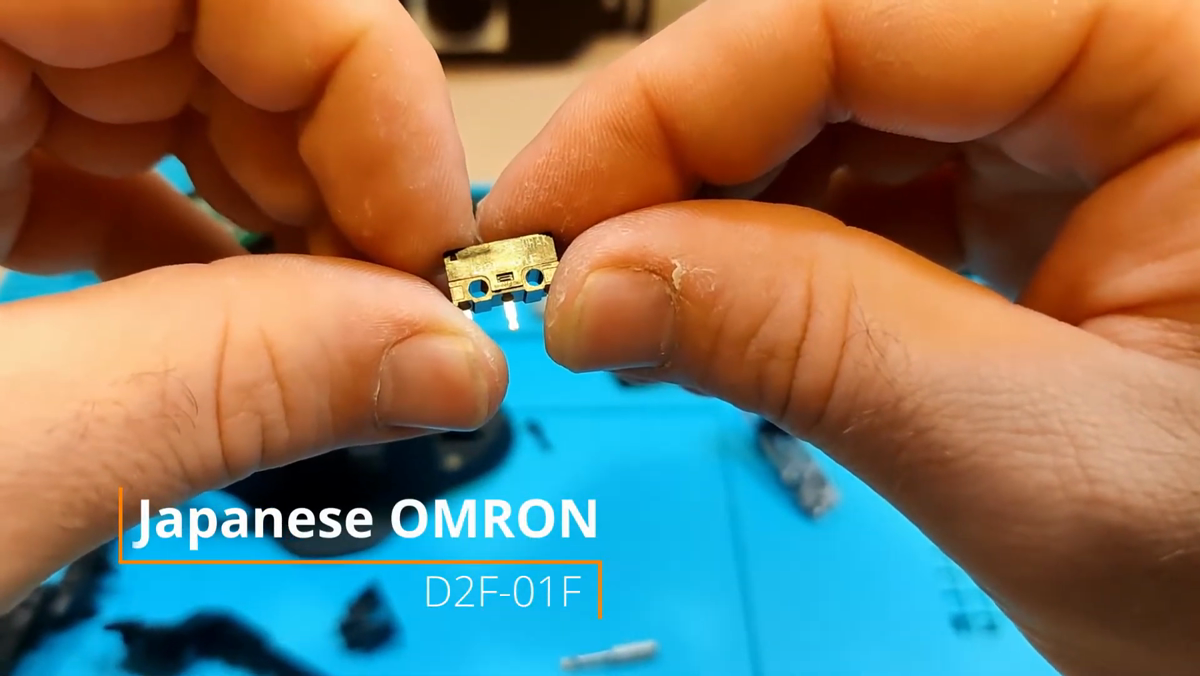
Before fitting them, clean the pads. Press solder wick against each pad, heat it from on top, and it’ll wick the old solder up; a solder pump helps with stubborn joints. Once the through-holes are clear, the new switch legs drop straight in.
Soldering the new switches
Seat the new D2F-01F flush against the board — any gap changes how the button presses the actuator. Then solder each leg:
- Touch the iron to the leg and the pad at the same time for 2–3 seconds
- Feed in solder — it should flow around the leg and fill the pad
- Pull the solder away first, then the iron
- Repeat for all three legs on each switch
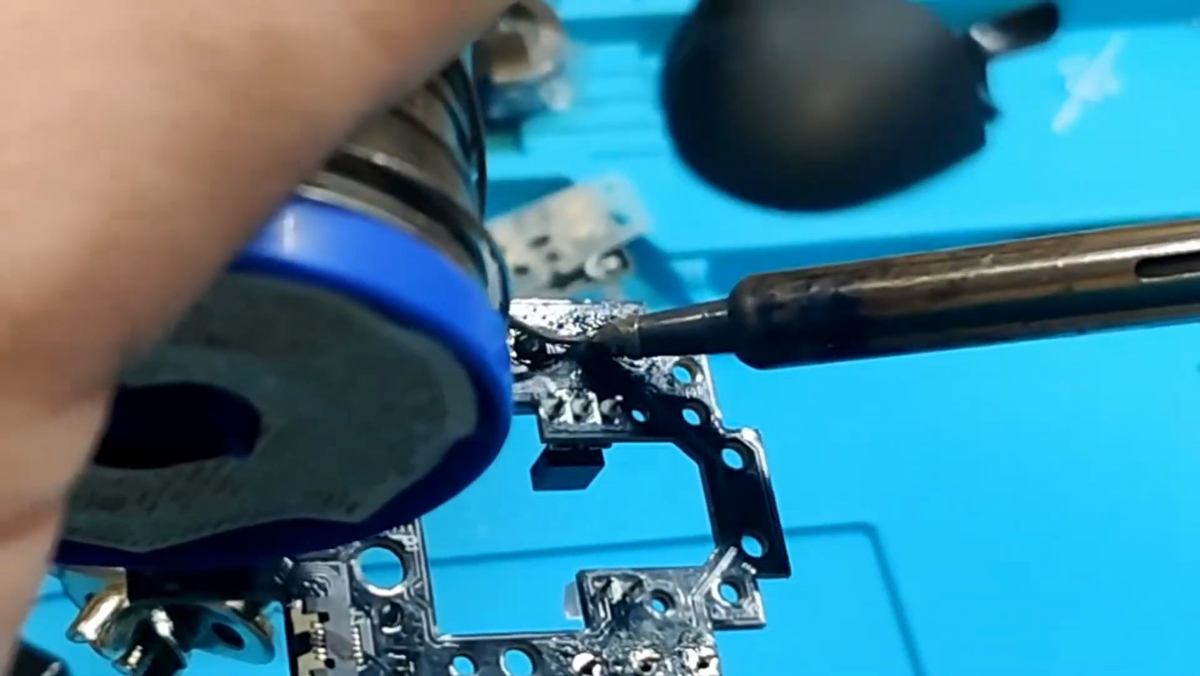
You don’t need to be good at soldering for this. The joints are big and forgiving — just take your time and make sure each one has a clean dome of solder around the leg.
Reassembly and honest verdict
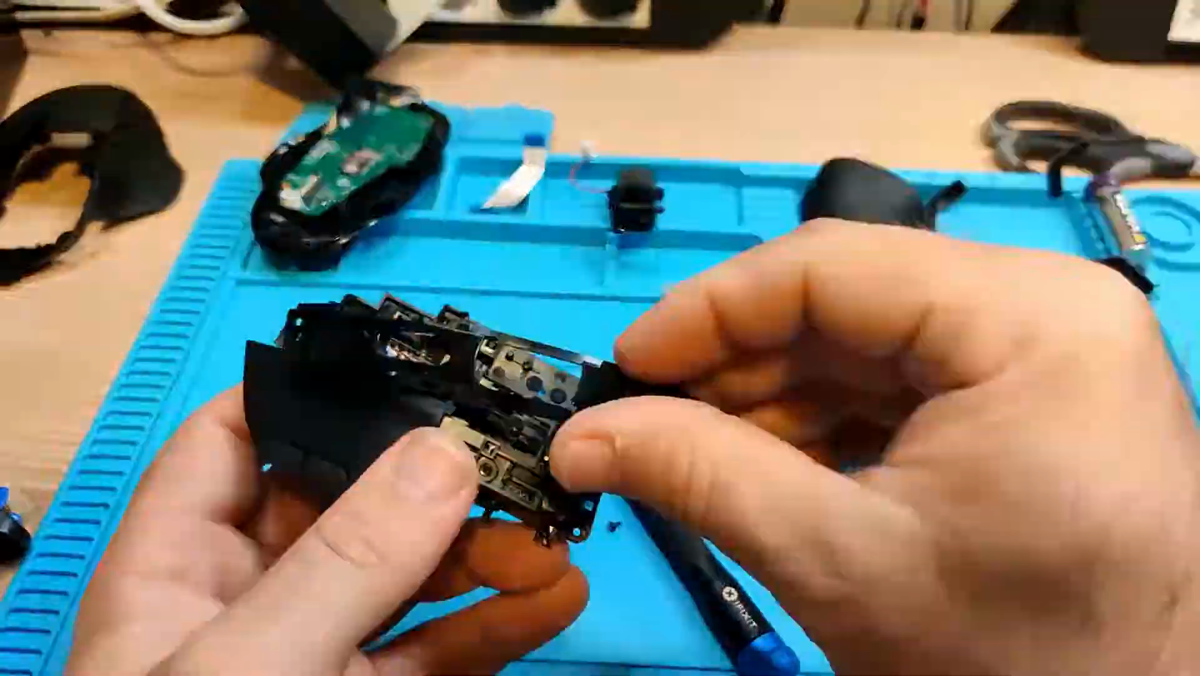
Reassembly is the teardown in reverse — springs back in their slots first, then the shell, screws, glide pads and battery. The whole job runs about 30 to 45 minutes, with the desoldering eating most of that.
The switch itself costs pocket change; the real cost is the half hour of fiddly soldering. If you’re comfortable with an iron it’s the cheapest possible fix, and the mouse comes back with clean, crisp single clicks — the D2F-01F even feels a touch lighter and more precise. If you’re not comfortable with an iron, this is a great low-stakes first project: you were about to bin the thing anyway, so there’s nothing to lose.
Frequently asked questions
Why does the Logitech G604 double-click?
The stock OMRON switches wear over time — the metal contacts inside start to bounce and register two clicks from one press. It’s a widespread issue across many Logitech mice, not just the G604.
Which replacement switch works best for the G604?
The Japanese OMRON D2F-01F. It’s a direct drop-in with the same footprint, and its gold-alloy contacts hold up far better than the Chinese-made D2FC-F-7N grade the mouse usually ships with.
Do I need soldering experience?
Basic soldering is enough — three legs per switch, off and back on. Patience matters more than precision; just don’t hold heat on the board too long.
Will this void my warranty?
Yes — opening the mouse and swapping components voids it. This fix is for mice that are already out of warranty, or when support hasn’t fixed the problem.
How long does it take?
Around 30 to 45 minutes end to end. The desoldering step takes the most patience, especially if you’re new to it.