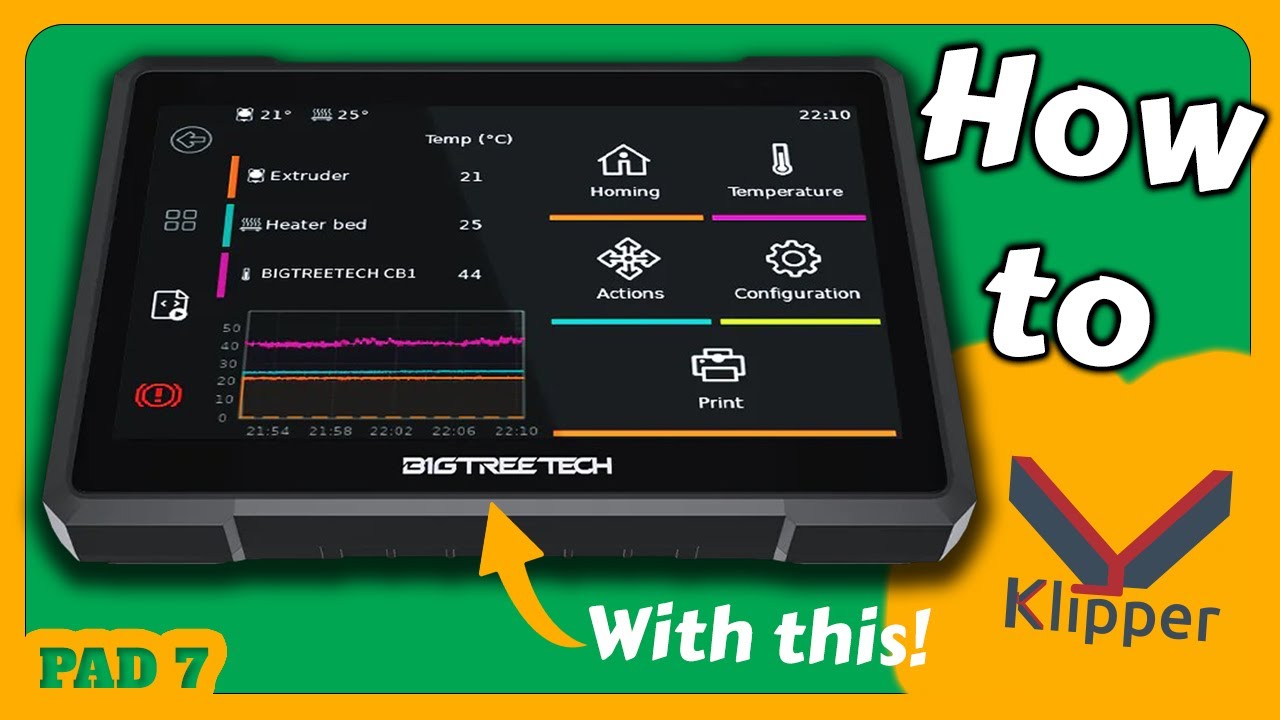
Klipper has become the firmware of choice for 3D printing enthusiasts looking to squeeze more speed and quality out of their machines. The usual route involves a Raspberry Pi, a separate display, and a fair amount of wiring. The BigTreeTech PAD 7 bundles all of that into a single device — a 7-inch touchscreen pad with Klipper pre-installed. I paired it with an Ender 3 clone to see how well it delivers on that promise.
Disclosure: BigTreeTech provided the PAD 7 for this review. All thoughts and opinions are my own.
Why the PAD 7?
Converting an older 3D printer to Klipper typically means sourcing a Raspberry Pi, installing the firmware, adding a touchscreen, and configuring everything manually. With Pi availability still unpredictable and prices fluctuating, dedicated Klipper pads have carved out a niche. The PAD 7 ships with Klipper, Mainsail, KlipperScreen, and all the supporting software ready to go. You plug it in, configure your printer, and start printing.
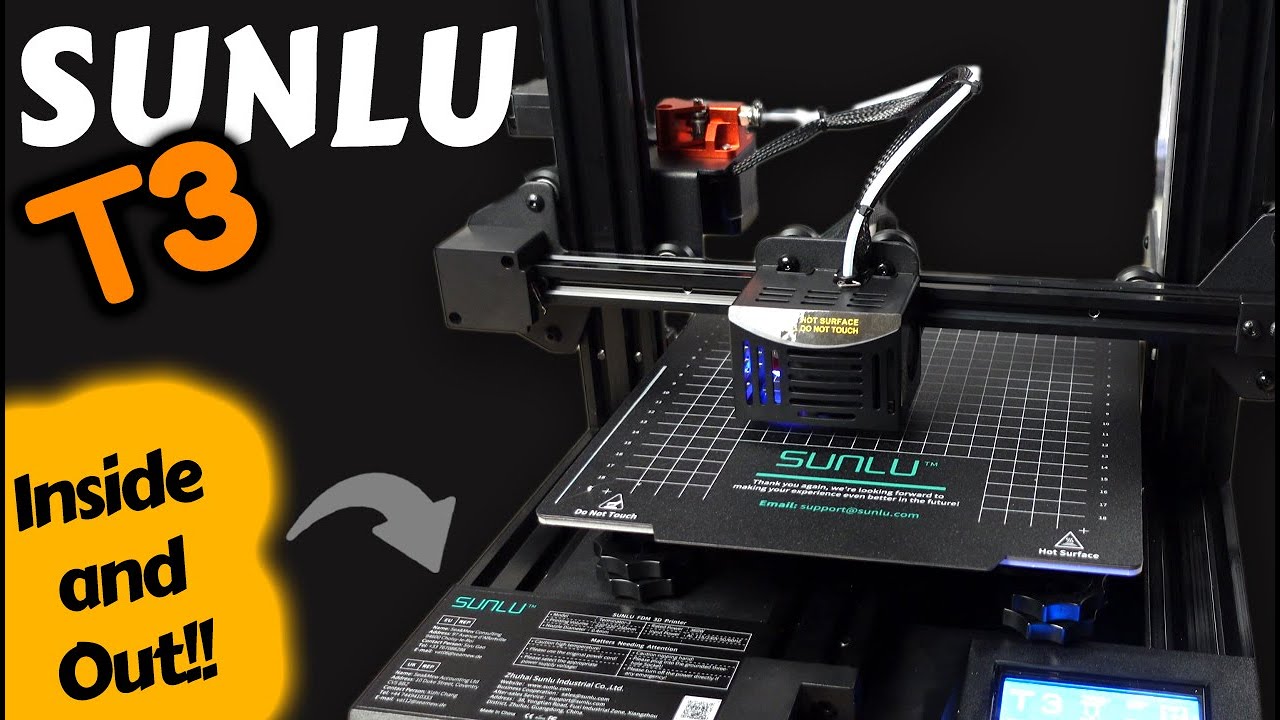
For this walkthrough, I used a SUNLU T3 — essentially an Ender 3 clone — but the process applies to any USB-connected 3D printer with a supported mainboard.
What’s in the Box
BigTreeTech packages the PAD 7 well. Inside you’ll find:
- The PAD 7 itself with a pre-installed 32GB micro SD card
- 12V / 2A power supply (24W) with regional socket adapters
- ADXL345 accelerometer and SPI cable for input shaping
- Accessories bag (thermal pad, DC power jack, CM4 spacers and screws)
- USB-to-SD card adapter
- Instruction booklet and stickers
- The obligatory BigTreeTech rubber duck
The inclusion of the accelerometer is a genuine value-add. Having it bundled means you can set up input shaping right away without sourcing the board and wiring separately.
Physical Features and Ports
The front of the PAD 7 is dominated by the 7-inch touchscreen. A light sensor sits in the top-left corner for automatic brightness adjustment, and RGB status LEDs are visible on the top-right. The screen is responsive and clear enough for the KlipperScreen interface.
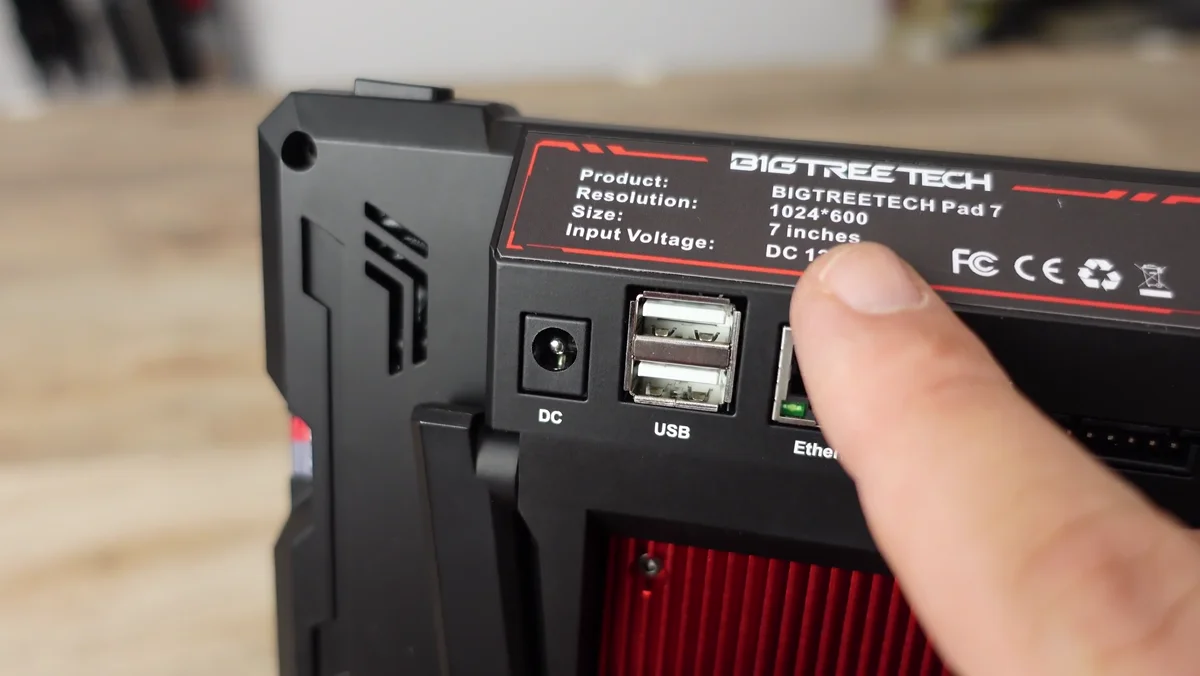
Ports and Connectivity
BigTreeTech gave the PAD 7 a generous selection of ports. Around the back and sides you’ll find:
- Back panel: DC power input, 2× USB-A ports, Ethernet, CAN bus connector, SPI connector (for the accelerometer)
- Right side: USB-A port, USB OTG port, micro SD card slot (with pre-loaded 32GB card)
- Left side: Volume buttons, 3.5mm headphone jack
- Top: Power button
- Back (hidden): Two built-in speakers
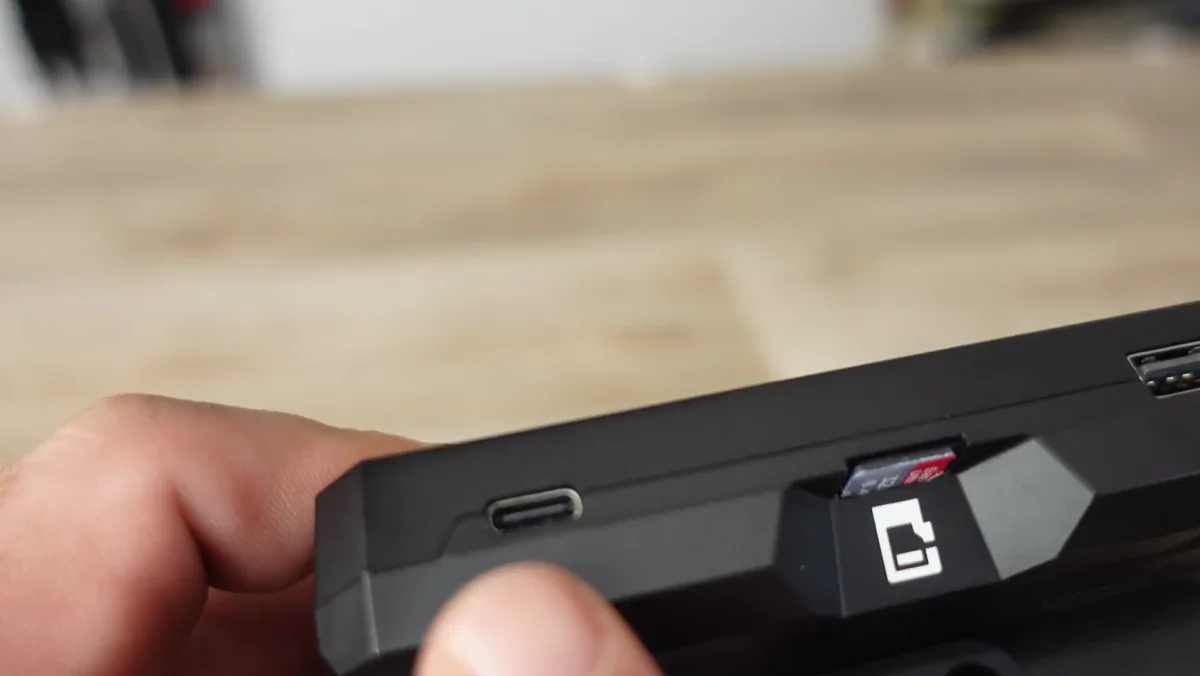
The CAN bus and SPI connections are worth highlighting. CAN bus opens the door to toolhead boards like the EBB36/42, while SPI is how the included accelerometer connects. Three USB-A ports total means you can connect a printer, a webcam, and still have a port free.
Inside the PAD 7: The CB1 Board
Removing the bottom cover reveals a section with toggle switches. The CS Choose switch selects between the CB1 and a Raspberry Pi CM4 module — a nice touch if you want to upgrade later. Additional jumpers control boot states and USB OTG mode depending on which compute module you’re using.
The CB1 doesn’t use active cooling. Instead, BigTreeTech opted for a large passive heat sink. Removing the heat sink exposes the CB1 compute module itself.
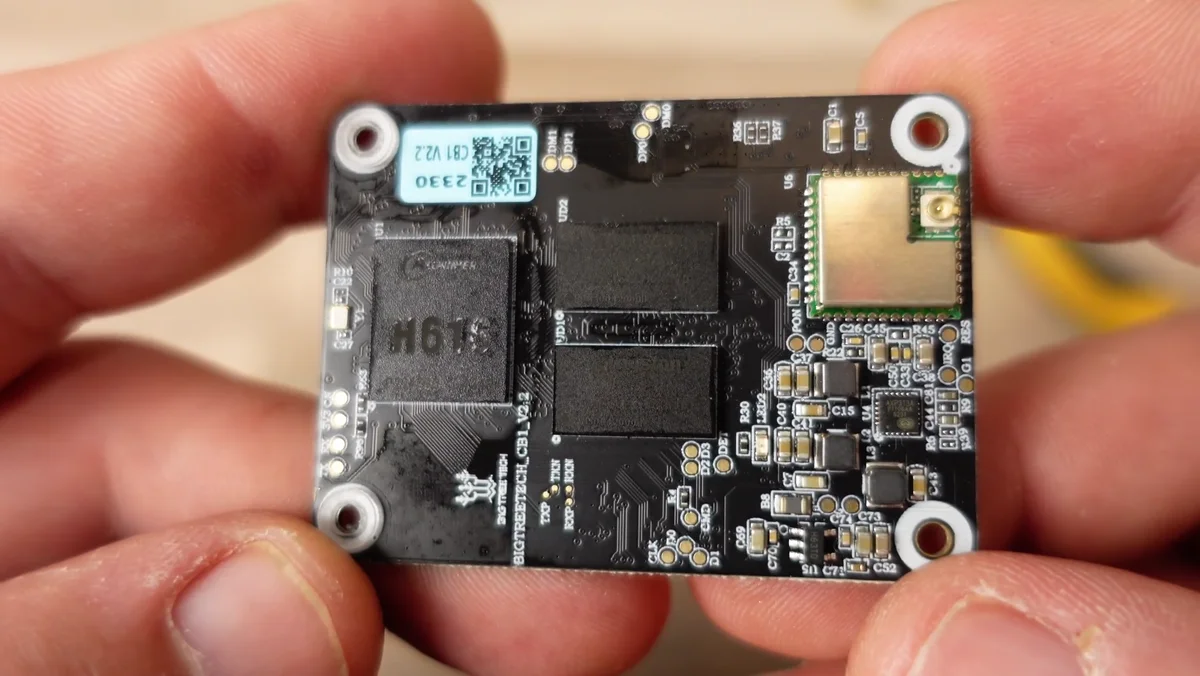
CB1 Specs
- CPU: Allwinner H616, quad-core Cortex-A53 @ 1.5 GHz
- RAM: 1GB DDR3
- Connectivity: Wi-Fi (with onboard antenna)
- Storage: 32GB micro SD (included)
Not as powerful as a Raspberry Pi 4, but more than adequate for running Klipper, Mainsail, and a webcam stream simultaneously.
Initial Setup: Wi-Fi and Software Updates
Power up the PAD 7 and it boots directly into KlipperScreen. You’ll see an error message on first boot about a missing configuration file — that’s expected and we’ll fix it shortly.
First priority: connect to Wi-Fi. Tap Settings → Network on the KlipperScreen interface, select your network, and enter the password. Once connected, reboot the device.
After the reboot, you can access the PAD 7 from any browser on the same network. Either type the device’s IP address (visible on the KlipperScreen) or use the hostname btt-pad7.local. This opens the Mainsail web interface — your main control panel for managing the printer.
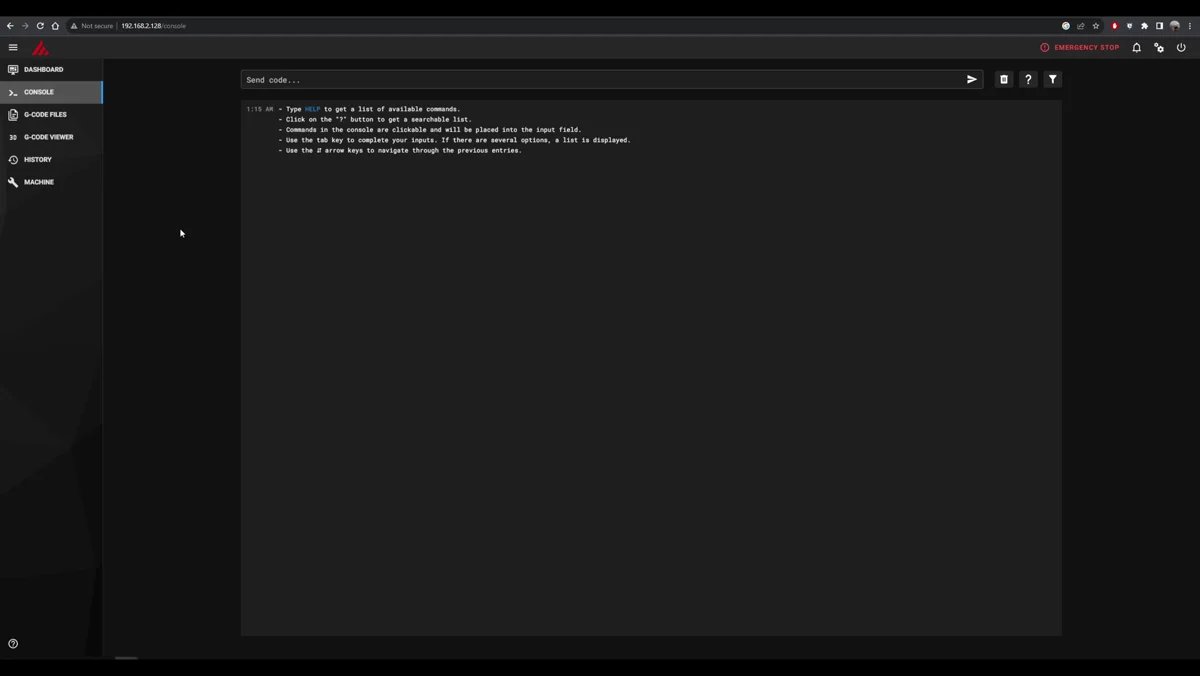
Before configuring anything, update all the software components. Mainsail shows available updates in the sidebar — you can update them individually or all at once. The pre-installed software stack includes:
- Klipper — the 3D printing firmware running on the PAD
- Mainsail — web interface for printer control
- Moonraker — backend API connecting Klipper to web interfaces
- KlipperScreen — touchscreen UI for direct pad control
- Crowsnest — webcam streaming service
- Sonar — process watchdog
- Timelapse — print time-lapse recording
Configuring Klipper for Your Printer
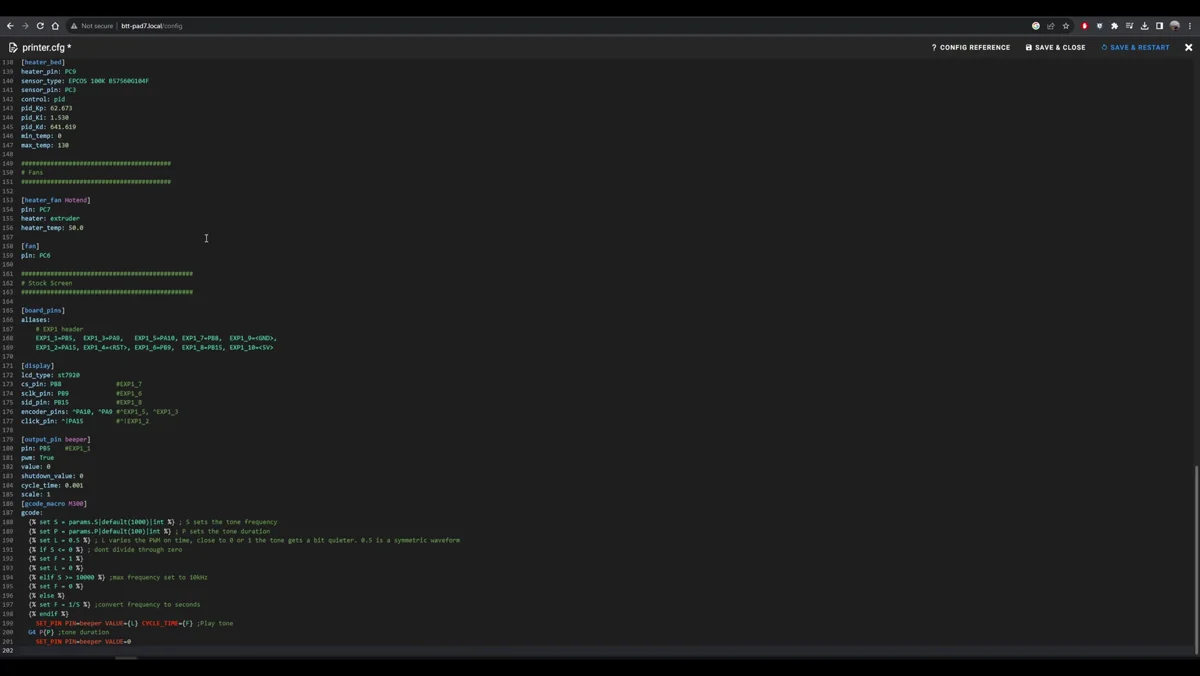
Open the printer.cfg file through Mainsail’s configuration editor. By default it only has two lines. You need to replace the contents with the correct configuration for your specific printer.
Head to the Klipper GitHub repository and search for your printer’s configuration file. Most common printers — Ender 3, CR-10, Voron, etc. — have configs available. Copy the entire contents and paste them into the printer.cfg editor on Mainsail.
Important: Keep the [include mainsail.cfg] line that’s already present. Comment out (add a # before) any generic BigTreeTech config includes that came with the default file. Review the full configuration carefully and verify it matches your printer’s hardware — stepper drivers, endstop positions, bed size, and thermistor types.
Flashing Klipper Firmware to the Printer
This is the most involved step, but it’s straightforward if you follow the sequence. Connect your 3D printer to one of the PAD 7’s USB ports with a USB cable (not included — use the one from your printer’s original packaging).
Step 1: SSH into the PAD 7. Use an SSH client like PuTTY. Connect to the PAD’s IP address with username biqu and password biqu.
Step 2: Build the firmware. Navigate to the Klipper directory and run the configuration menu:
cd ~/klipper
make menuconfig
The menuconfig screen presents several options that depend on your printer’s mainboard. Check the top of your printer.cfg file — most config files include the exact menuconfig settings as comments. Common parameters include the microcontroller architecture (e.g., STM32), processor model, bootloader offset, and communication interface.
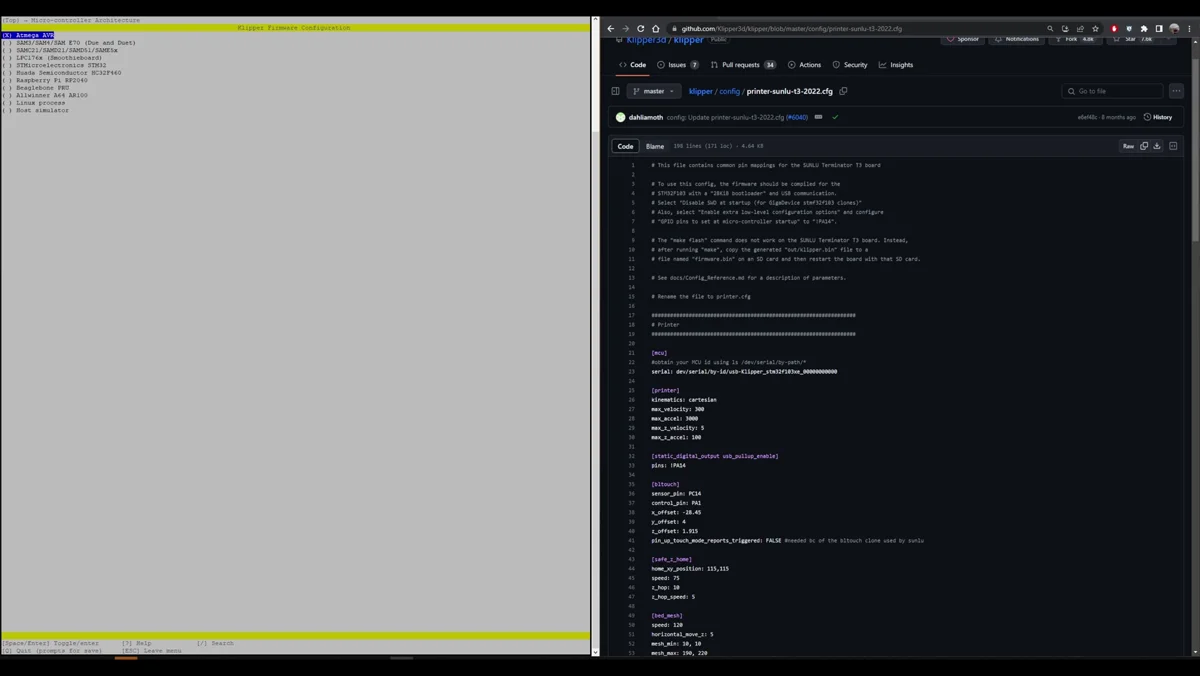
Step 3: Compile and transfer. Press Q to exit menuconfig and save, then run make to compile the firmware. This generates a klipper.bin file in the output folder.
Step 4: Flash the printer. Copy the klipper.bin file to your computer using SCP or an FTP client like WinSCP. Transfer it to a micro SD card and rename it to firmware.bin — the bootloader on most boards looks for this exact filename. Insert the SD card into the printer (with it turned off), then power on. The printer flashes the firmware automatically — wait about a minute to be safe, then restart.
Establishing Communication
After flashing, the PAD 7 still won’t communicate with the printer until you add the USB serial address. Run this command in the PAD’s SSH terminal:
ls /dev/serial/by-id/*Copy the output and paste it into the [mcu] section of your printer.cfg file as the serial parameter. Save, restart the firmware, and the PAD 7 should establish full connectivity with your printer.
Accelerometer and Input Shaping
One of the PAD 7’s best features is the included ADXL345 accelerometer. Input shaping uses accelerometer data to compensate for vibrations (ringing/ghosting) that appear at higher print speeds. Setting it up requires a few additions to your printer.cfg.
Add the accelerometer configuration block to your printer.cfg — the exact lines are in the BigTreeTech documentation. You’ll also need to define a probe point for the resonance test, typically the center of your bed.
Connect the accelerometer to the PAD’s SPI port using the included cable. Restart the firmware and verify it’s reading data with:
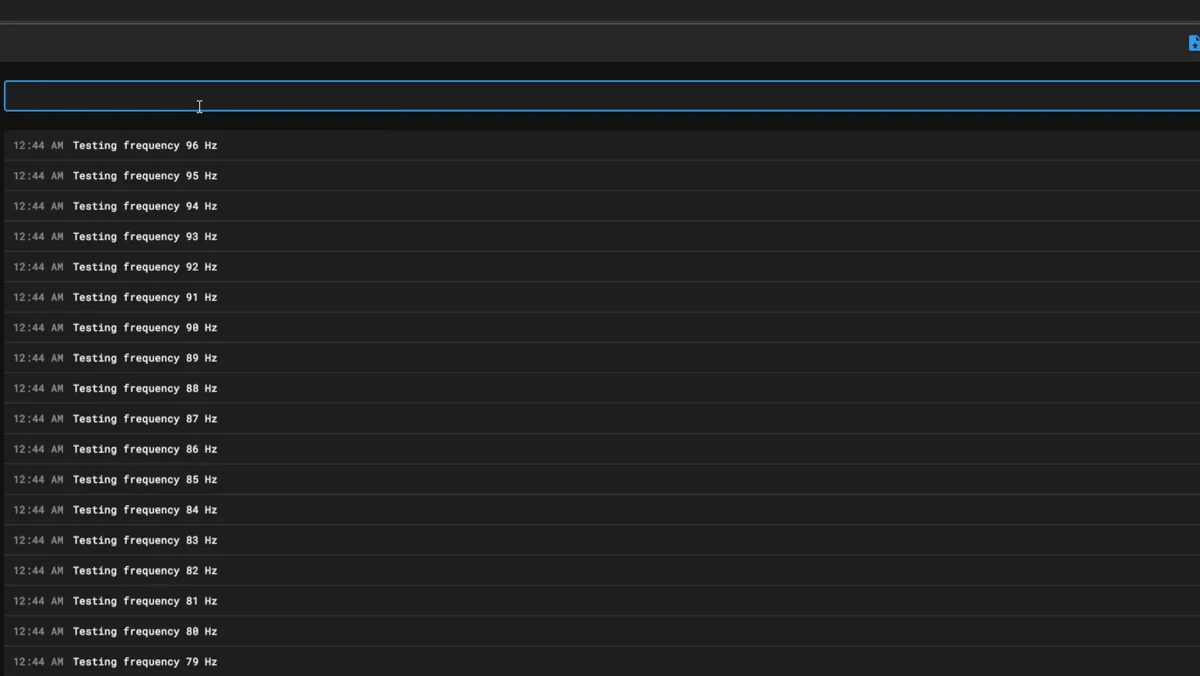
ACCELEROMETER_QUERYIf you get readings, you’re ready to run the resonance tests. Attach the accelerometer to the print head carriage (tape works), then run the tests for each axis separately:
SHAPER_CALIBRATE AXIS=X
SHAPER_CALIBRATE AXIS=Y
After each test completes, Klipper suggests optimal shaper values. Run SAVE_CONFIG to store them in your printer.cfg. Make sure the accelerometer orientation matches the axis you’re testing — the labels on the board should align with the movement direction.
First Print and Final Thoughts
Before printing, you’ll want to set up start/end print macros in your printer.cfg and configure your slicer to call them. The Klipper sample macros config is a good starting point. You should also run through Z-offset calibration and bed leveling from the KlipperScreen interface. Other calibrations worth addressing include e-steps, pressure advance, and PID tuning for the hotend and bed — these are outside the scope of this guide but will noticeably improve print quality.
I plugged in a USB webcam, and Crowsnest detected it automatically — no additional configuration needed. With the webcam streaming and the timelapse plugin active, I printed a Benchy to put the full setup through its paces.
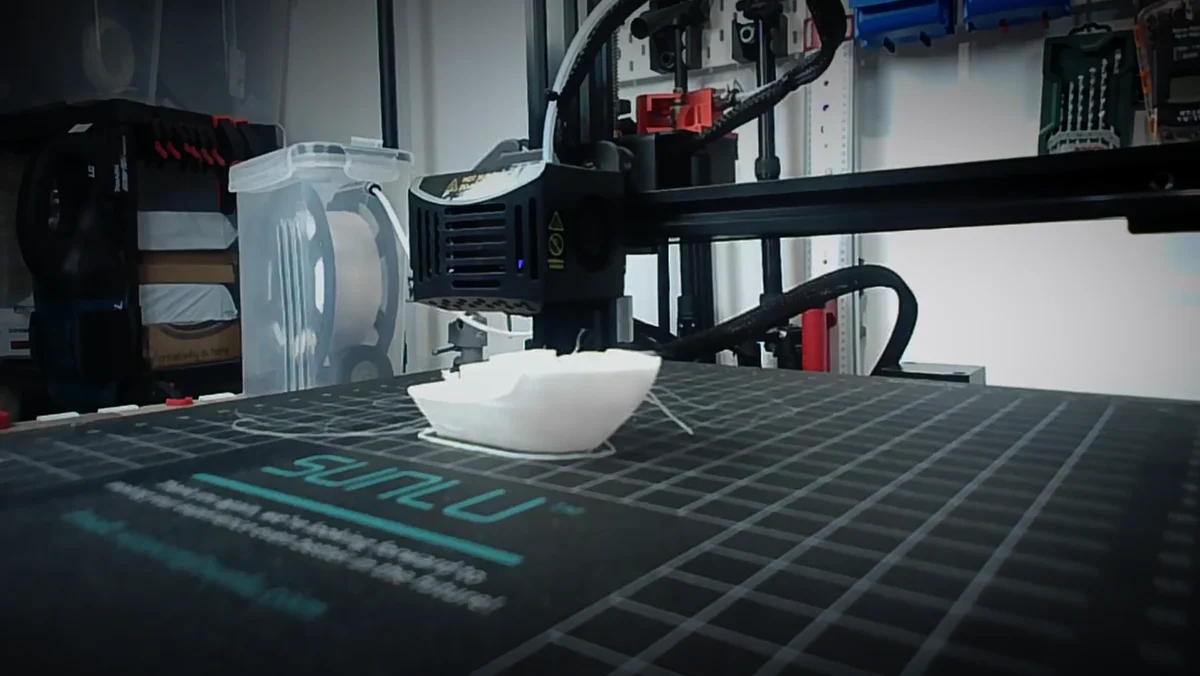
The PAD 7 is a solid option for converting a 3D printer to Klipper. The integrated touchscreen, pre-installed software, and included accelerometer make for a complete package. You avoid the hassle of sourcing a Pi, buying a separate screen, and wiring everything together.
The CB1 module isn’t as powerful as a Raspberry Pi 4 — the Allwinner H616 and 1GB of RAM are adequate for printing but you’ll notice it during heavy operations. If you need more headroom, the CM4 swap option is there. For most users running a single printer with a webcam, the CB1 handles the workload without issues.
At its price point, especially when factoring in the screen, accelerometer, and all the bundled accessories, the PAD 7 represents good value for anyone looking to bring Klipper to an older printer without piecing together a DIY solution.
Frequently Asked Questions
What is the BigTreeTech PAD 7?
The PAD 7 is an all-in-one Klipper pad from BigTreeTech. It combines a 7-inch touchscreen running KlipperScreen with a CB1 compute module (Allwinner H616 quad-core, 1GB RAM) that has Klipper pre-installed. It replaces the need for a separate Raspberry Pi and display.
Can I use a Raspberry Pi CM4 instead of the CB1?
Yes. The PAD 7 has a toggle switch on the bottom panel that lets you select between the CB1 and a Raspberry Pi CM4 module. BigTreeTech includes the thermal pad and spacers needed for the swap.
Which printers are compatible with the PAD 7?
Any 3D printer with a USB-capable mainboard can work with the PAD 7. You just need the correct Klipper configuration file for your printer, which can be found on the Klipper GitHub repository. The setup demonstrated here uses a SUNLU T3 (Ender 3 clone), but the process is the same for any supported printer.
Does the PAD 7 come with Klipper pre-installed?
Yes. Klipper, Mainsail, Moonraker, KlipperScreen, Crowsnest (webcam support), and other tools come pre-installed on the included 32GB micro SD card. You still need to configure the printer.cfg file and flash Klipper firmware to your specific printer’s mainboard.
How does the PAD 7 compare to a Raspberry Pi for Klipper?
The CB1 module is less powerful than a Raspberry Pi 4 (Allwinner H616 vs Broadcom BCM2711, 1GB vs up to 8GB RAM), but it’s sufficient for 3D printing. The PAD 7’s advantage is the integrated touchscreen, pre-installed software, included accelerometer, and competitive pricing — particularly relevant when Raspberry Pi boards have been in short supply.